|
Here are photos of my miniature projects, more will be coming soon.
|
|
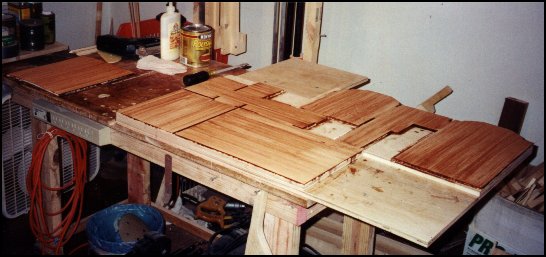
The photo above shows the layout of what will be a beautiful hard wood floor in this dollhouse. I decided to make the floor boards individually for a great realistic look. And I made them one quarter by one quarter inch to give myself plenty of working room incase I made any mistakes, I could fix them easier without having to re-make any pieces, and it has worked out great.
|
|
|
|
______________________________________________________________________
|
|
|
|
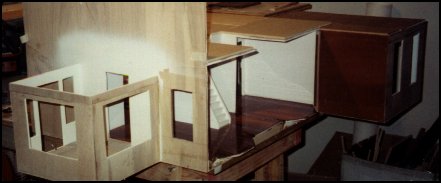
The photo above shows the same dollhouse after I finished the downstairs hard wood floors. The room sticking off the end of the house to the left will be the sun room. And at the opposite end of the house, the room sticking off to the right will be the two car garage with a moveable garage door.
|
|
|
|
____________________________________________________________________
|
|
|
|
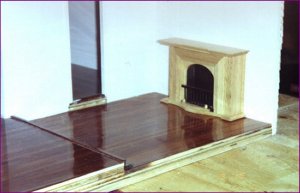
The above photo shows what will be the family room. You can see the wood floor a little better here. I have been having problems with the photos turning out bad. This last roll of film was a total loss, none of the pics turned out , I'll keep trying.
|
|
|
|
_________________________________________________________________________________
|
|
|
|
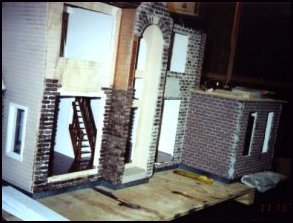
The above photo shows the front of the dollhouse. You can begin to see how the bricks are starting to look. At this stage, the bricks are in a rough form. I just put them on and began to grout them. They haven't even been cleaned up or anything yet.
|
|
|
|
______________________________________________________________________________
|
|
|
|
|
|
|
|
|
|
|


